Sunday, April 17, 2016

A LOT of Irons in the Fire!

This was that first gloriously warm and sunny spring weekend here in my part of the Midwest so I got two good days of work in on the Can. Probably should break it into a post for each area that we worked on...yes WE!!! Seems the honeymoon bug has bit a few members of our family, yay! Shutterfly and Mr. Creature Comforts put in some serious elbow grease this weekend. Mr. CC even gets a shout out for making sure I am in a picture or two.

So fire #1- The Entrance Door


When we last saw the door it had just undergone reparative surgery. This weekend it was sufficiently recovered to get plastic surgery.  Before she could head off for the headline makeover I took a sanding block to the handle and lock mechanism to shine off the minimal rust and tarnishing because this one works just fine so it will stay.


I got the one with several angles and edges to be prepared for any tight spots and it worked like a charm! It is my hope that this will be enough to keep a new handle/lock mechanism from eating into my budget.


The old dry and crumbling weather stripping was pulled, scraped, and Goo-goned. Plan to mount the new stuff soon and will hopefully have a whole DIY post up. I am turning out not to be quite as thorough on the photo documentation needed for a step by step DIY post. Pretty sure it has a LOT to do with me being the main photographer as well as impulsive. DIY documentation fail #2 about to be confessed.....


Ta dah!!! Because the repaired wood joins a laminate with a very papery wood grain finish, a papery finish that we now knows ripples when wet, painting became a less than ideal solution. While on a trip to Home Depot to get other supplies I came across this faux tin tile. [http://www.homedepot.com/p/Fasade-24-in-x-18-in-Traditional-1-PVC-Decorative-Backsplash-Panel-in-Brushed-Aluminum-B50-08/202025353 ] Door was 22 X 20 so I did have to get two pieces and match up the pattern but they have very thorough and clear directions on the back of the pieces. I followed those and ended up with a result I love! The only sticky wicket here was the way my particular door assembles. In order to make sure one measures correctly, you have to identify where the flange of the top piece overhangs the aluminum trim on the bottom portion.


The upper door portion rests on the lower door with there in an aluminum flange that slips down over the top of the lower. It is best seen at the upper left arrow. The other arrow shows the aluminum frame of the lower door piece where you need to butt the edge of the faux tin panel. I found it very easy to cut with scissors but some may prefer to use a metal straightedge and cutting knife. I used the double sided adhesive tape suggested because it is not unlikely that this panel may someday be switched out for some newer trendy treatment.

So, my before and after:


In typing all of this I have decided that the rest of the irons in the fire need to have their own posts. Be sure to read along!!

Saturday, April 16, 2016

First DIY Documentation Fail

One of the reasons I thought I'd chronicle this journey of remodeling Zan's Can was to serve as a resource for other like minded ladies looking on the internet for "How To" information. As my plan for yesterday was to just get a deep clean done on my girl my attention to photo documenting every little change/modification and repair was not on full alert when Mr. Creature Comforts and the Leprechaun dove right into the first significant repair! My apologies readers!!

I did get a few pictures of this repair though:


Upon setting up the Can, one of the first things that we noted needed immediate attention was the bottom of the entrance door. The aluminum frame was pulling away from the bottom of the clearly water damaged lower panel!


See the dark staining and crumbling wood where the screw was to have been holding the frame on tight? The other diagnostic observation is not really visible in this angle but you can kind of see it at the bottom right corner in the picture above. Because weight is a main concern in travel trailers almost all of the "wood" in her is a very thin laminated product that will ripple once wet.


Remember this picture from the last post? Mr CC and the Leprechaun had removed the lower door panel from the camper by the hinge bracket on the camper frame side because the piano hinge was determined to be a potential nightmare and from the door frame because those screws appeared to be well seated in the metal frame and they didn't want to chance turning the project into more than it already would be anyhow!!


This picture show the door frame after the hinge was unscrewed and the door removed. A LOT of weather stripping replacement is in my future!!


Because the metal frame is a single long piece of aluminum that was just bent around the corners, the guys bent open only just enough to see and access the rot. The fear was over stressing the bend causing it to fail and break off because the aluminum had 40 years of exposure to the elements!


Then they carefully peeled back the very cheap, almost paper like covering to ascertain just how far the water damage had crept up the door. It sat out in the sun to begin drying out some of the water while they worked out a repair plan. This is where I failed you my dear readers as I got caught up in removing the icebox while they worked on this project!!

I caught this action shot though:


I even know what they were doing here! The obvious decision was that a new healthy wood needed to be added and they were cutting a straight edge at the bottom of the undamaged wood so they could then chisel away the soggy, damaged wood but leave a straight edge to meet up against the new replacement piece.


So I missed all the next steps!! They used wood chisels and carefully cut away the rotted portion....but left me the clean up while they headed off to get the new wood and silicone caulking.


I will likely make this as clear as mud but I will try to describe how they did the rest of the repair!!
Again, weight is critical in a camper so it will not surprise you to know that behind the wood laminate was a foam insulation. The door is basically a sandwich with the aluminum panel that matches the rest of the body that was glued to the foam insulation and the laminate on the side that goes inside the camper. The foam in the middle was roughly 1.5 inches smaller on all sides than the metal and laminate covers and this space was filled with solid wood pieces that acted like a frame. They determined that the wood frame was mostly to support the aluminum trim piece and not actually structural so they again used chisels to remove the damage on the  "one bys" back to solid good wood without opening or bending the aluminum frame. They cut two little pieces of the "one bys" the length of the sides as needed and slip them down and into the space between the aluminum edging and the foam. They then used wood glue on the top ends of those pieces and laid a solid length of "one by" across the bottom edge of the foam the full width of the door. Next, they cut a piece of lauan laminated plywood the size of the whole damaged strip and put adhesive on both the foam and back of the lauan and slipped the piece down and once joined right up against the remaining door wood they placed tiny little nails at the very bottom into the "one by" and then ran a silicone caulk all along any edge and folded the aluminum back around the corner. The final thing was to screw back in the screw that held the aluminum frame to the now new and solid "one by" frame piece. Feel free to ask questions in the comments if you got lost in all those words!!

So while they were doing that:


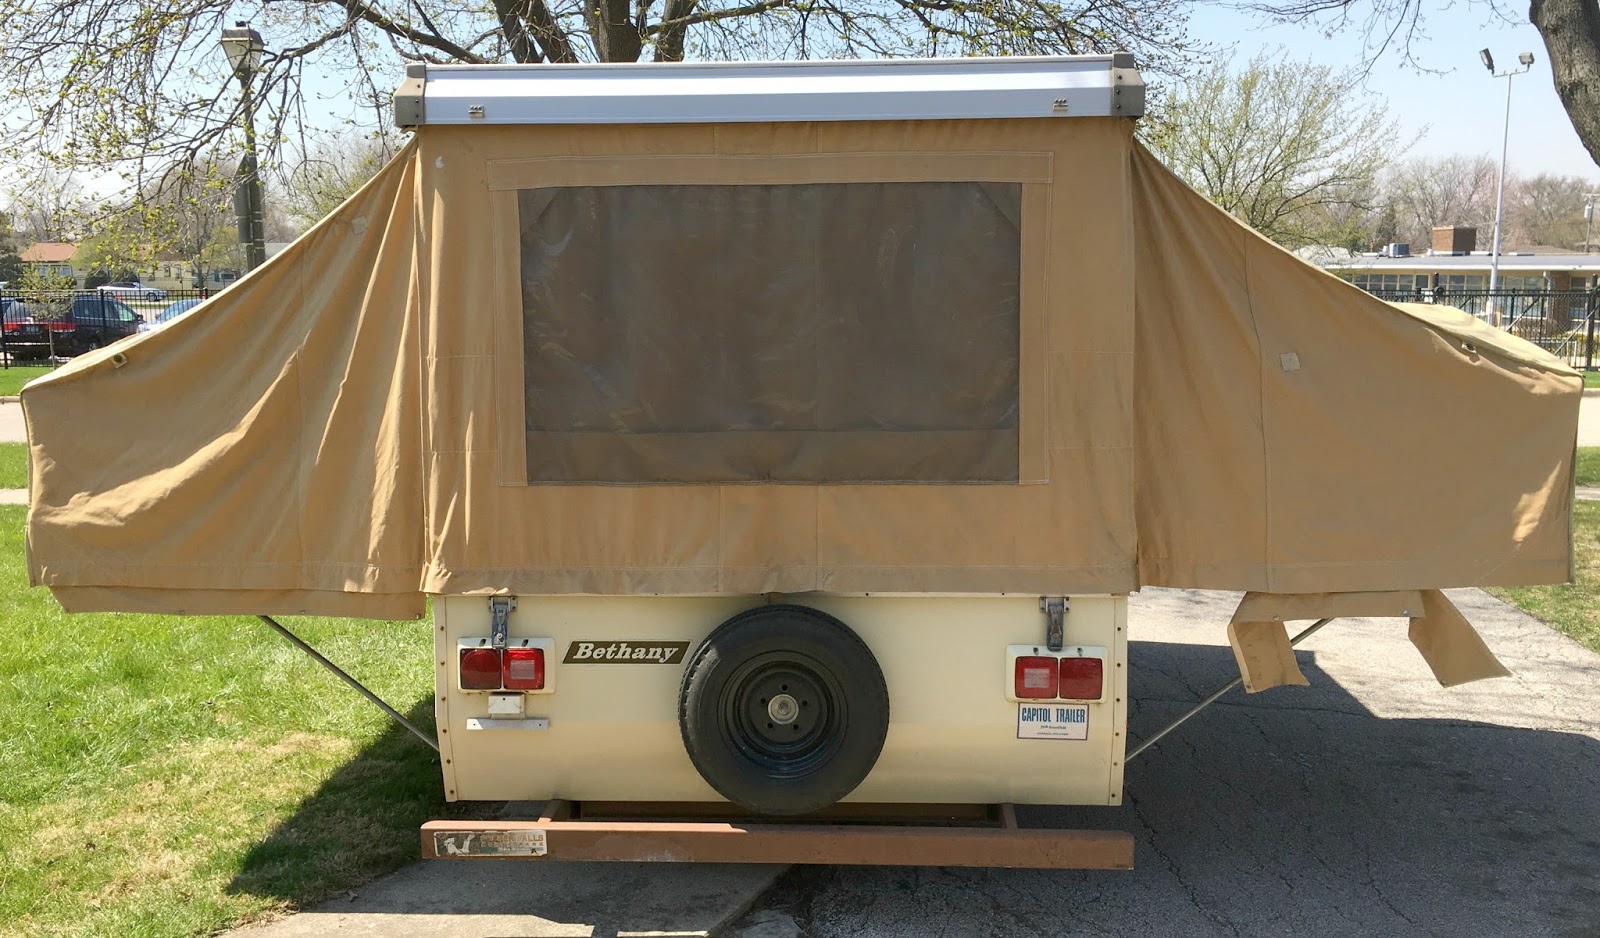
I became engaged in removing the icebox. It is here that I feel compelled to make something very, very clear!! See I have been challenged by some people [brothers, cough ,cough] who think I should be doing a faithful restoration to her Mid-century origins. This is NOT what I am doing to the Can, period. I am REMODELING her to what I want. To what makes camping comfortable and aesthetically pleasing to MY eye. I want a refrigerator not an icebox. So some lucky restoration purist can now have an original Bethany icebox! Once I had found all the screws holding it into the cabinet, including the very sneaky ones that went from the door clasp mechanism through the wall of the icebox and into the wood frame of the camper, it slid out nice and easy.

 I went in to make dinner. When I came out to announce it was ready I found Mr. CC and the Leprechaun standing admiring their handiwork which they had already remounted on the Can!!


I will be painting or wallpapering or doing some kind of to be determined treatment on that inside lower panel anyhow so not unhappy with that obvious patch in the least!! So far that door is the only obvious sign of water damage we have found, yay for me!! Now having typed that I may have jinxed myself because it makes sense that after 40 years one should expect to find water damage in something that had lived in the great outdoors more than in a protective structure. I am heading out to start some deep cleaning...wish me luck that I don't find much more!!

So It Begins

Long, long day out working on my girl. Yes we are bonding and I'm fairly sure we will become soul sisters. Plan was to photograph her in detail. Check. Start clearing out anything I didn't want or was damaged. Check. Give a good scrub down. Not so much.

Anyone of a certain age who is also a homeowner has experienced the oft quoted adage of take your time frame and multiply it by three when undertaking any remodeling. I am of that age. I have remodeled my home. I know not to expect to meet projected time frames. Therefore I am not at all disappointed by today's progress! Quite the contrary. I now have photo documentation sufficient to cover many, many blog posts. The challenge will be pacing my posts so there are no huge dry spells for my readers. I expect to fail that challenge eventually because I live in the moment, am impulsive, and have serious instant gratification issues!! Let's give it a go though.

Today's post will basically be a tour of Zan's Can. I will try very hard to stick to the topic, I promise! However, I suspect there may be more than one post per day for the next couple of days!!

Here is a very non-architecturally exact rendering of the Can's floor plan:


She is 10 feet long and 5.5 feet wide closed up. The layout is not like the modern PUPs in that the beds pull out from the sides rather than the ends.


 The 'kitchen' runs across the front end and the entrance door is on the "passenger side". This lady was made in 1976. There is no bathing facility nor a commode and her 'refrigerator' was only a glorified cooler on its side.


 The heater is under the sink and guess where the air conditioner is?? 1976 folks. Nada unless you consider Mother Nature's air conditioning [aka Breezes].


The stove is above a couple of storage cubbies and the "refrigerator" is under the lone kitchen drawer. Here are better views of the sink and stove:


The beds are both the same size. As a matter of fact the whole back of the camper is a mirror image in symmetry. Here are shots of a bed and a storage compartment at the forward base of the bed:


There is a table that drops down and forms a third bed if needed. The benches for the table have hinged lids to allow access to two more storage compartments. I am inspired by the orange of the table and counter and fair warning to orange hating readers, it will remain in the remodel!! Might need to re-laminate or do some other treatment because this orange is in rough shape but the orange will figure prominently in the final decor choices.


The floor is filthy but in good shape. I am not in love with this so very 70's harvest gold linoleum but it might have to stay until I get more necessary repairs and redecorating done. Sigh.


So a few things did change today. Nothing major in the least but enough to have caused the cleaning and scrubbing to wait for another day! Like tomorrow, maybe? We have a forecast for a warm and sunny weekend and I very much hope I can take a layer or two of grime off!

I'll close tonight with one slight off-topic observation....


Mr. Creature Comforts has taken to hanging out with me in the Can. More so he has rolled up his sleeves and jumped in to help!! Then this happened:


Mr. CC decided that his long time friend would likely be interested as well and before I knew it The Leprechaun appeared! Even better he and Mr. CC finished the very first significant repair on the very first day!!

Then do you recall in my introductions how I said Sweet Pea had precious little interest in camping?


Guess who stepped off the school bus, dropped her backpack and jumped in to give the beds their pea test??? The table was deemed so very unacceptable due to the multiple cushions [note the brown and orange floral covers are gone? They were really not all that hideous and in amazingly great condition!! They may have to go back on after laundering until I get my fabric chosen and ordered.] and deficit in length to accommodate her 5'3" body.


Despite being identical to its twin, the driver's side bed was deemed acceptable on the sole assessment  that it had room for her AND her dog....her very spoiled and undisciplined 75 pound Golden Retriever!! I'm not feeling any warm fuzzies for that plan.....

Friday, April 15, 2016

Welcome Home!

A very short post tonight. That cheesy smile on my face is because I did it!! Zan's Can was kicked to the curb 2 hours away from my home. I found a kind soul willing the lend me their vehicle with a hitch, thank you cuz!!! I drove the two hours alone and took the tutorial on set up, take down, and how to hitch up. Then for the first time in 20 years I drove off with a trailer hitched behind me. The nerves were stressed to the max because that last trailer was a very SMALL U-Haul and not a 10 foot PUP!!


Lucky, lucky me because she pulled smooth and steady and is now tucked into her new driveway!! Mr. Creature Comforts helped me open her up to begin a very necessary airing out but no pictures of the old girl yet, because despite the seeming brightness in the above photo, the sun was well on to setting. As I lay my tired smiling self down tonight, my thoughts race with the possibilities. Fair warning though....no big dreams or flights of fancy in the next few posts because they will necessarily chronicle the very mundane need to CLEAN!! My girl's previous family consisted of a single, smoker Dad and his typical teen son. Got the picture?!?!

Thursday, April 14, 2016

Welcome to A Tinker + A Tailor = A Pop Up Redecorator

On the off chance that someone other than family and close friends happens upon this blog, I thought I'd open with an introduction. As you may have seen in my profile I am Zan.  I am married to Mr. Creature Comforts who was born and raised in County Kerry, Ireland and is quite vocal that his "roughing it days" ended when he emigrated to the US in the early 1970's. Mr.CC is now retired and as he likes to say he "acts as the main livestock handler" in our home, which means he takes care of our two dogs. We have two teenage daughters. Sweet Pea is the older daughter. She is 18yo and her nickname refers to her true princess qualities...as in she would have felt that pea under all those mattresses!! In one short month she graduates from high school and has big dreams of living in New York someday as a writer. At 15yo, Shutterfly, is all about art and esthetics and being unique at all costs. She is also our resident taste tester/chef and she too hopes to live in New York someday. As for me, I spent 30 years designing and embroidering celtic art and Irish dance dresses, painted furniture with knotwork designs inspired by the Book of Kells, sewed all sorts of costumes and clothing all while studying up for my dentist day job.

The thing about the day job and parenting is it sucks the life out of you sometimes!! The past two years, heck the past seven years have been particularly stressful around here and lately it is beginning to feel like we are coming into calmer waters. So naturally it is time for me to begin to long for treasured things that got dropped on the journey to become a family. Things that I have missed mightily like art and camping. Say what you think as you read that last sentence?!?!? If you recall from the introductions above, my husband and children have an affinity for creature comforts and big cities. On the whole I am not adverse to those things but I grew up in a camping family and camped right into my 20's when dental school consumed my every waking minute and I have missed camping, a LOT! Art made occasional appearances over the years. Like during a particularly dark chapter in our family I turned our stained and worn kitchen table into this...


The hours spent painting this brought solace and kept me afloat when the events of the period were working hard to sink and drown me. I took on a lot of water but I did not sink and while intense effort was required the family pulled through.

If you've been doing the math along the way you can guess that I am no spring chicken. As a matter of fact my therapist informed me I am twenty years late in hitting this time we all call The Midlife Crisis. Not ashamed to admit I have a therapist and am absolutely aware I am two feet firmly planted in that phase when one looks over their should and says "WHOA!!! What the heck happened to ME??" To remedy the situation I cast about for something that could fill the art and camping voids and wouldn't you know it happens to be something that is all the rage these days! I have joined the ranks of women who are rehabbing or remodeling a vintage camper into a GLAMPER! Okay, okay I know that a pop up is hardly the usual "vintage camper" one sees at Girls on the Fly and other glamping events BUT one works with what one can afford....and I can afford $0!! Which is exactly what this 1976 Bethany Compact 560 pop up camper cost me, yay me!!! Thank you Facebook and friends who have friends!! See I have been scouring Craigslists up to a 6 hour radius of my home and the price tags were just too much for this married to a retiree with two teenage daughters so I put a shout out on Facebook. Twenty four hours later and I had a lead right in my price sweet spot. As in "if you have it out of my driveway by Thursday then it is yours for nothing" kind of free. Which happens to mean $450 to get a hitch installed on my car kind of free but heck, way less than the thousands I was seeing for old beat up campers on Craigslist!!


Tomorrow this sweet little PUP [pop up trailer abbreviation as I learned from my crash course on Pinterest searches for inspiration] will be rolling behind me on our maiden voyage from her old home to my home!! This blog will chronicle my journey to turn Zan's Can[her temporary call name...yes that was a lame dog show reference] into my own personal glamper!!